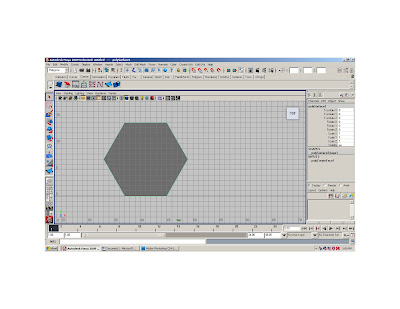
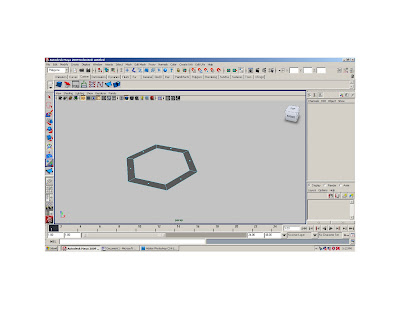
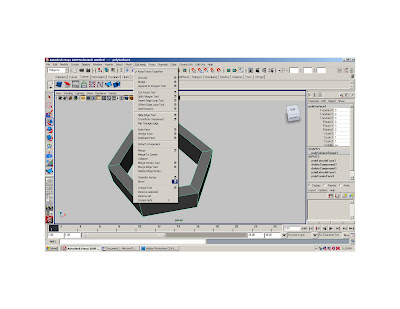
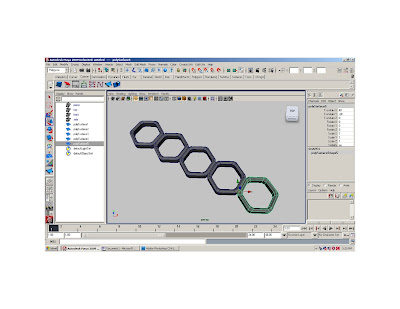
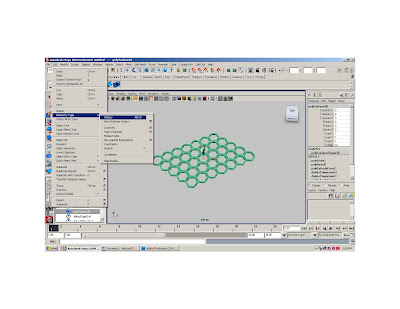
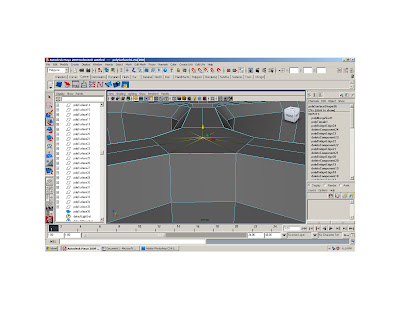
In the top view, using the create polygon with snap to grid on, draw a hexagon with the dimensions of 8x8’ (draw 8’, count four over and seven down)
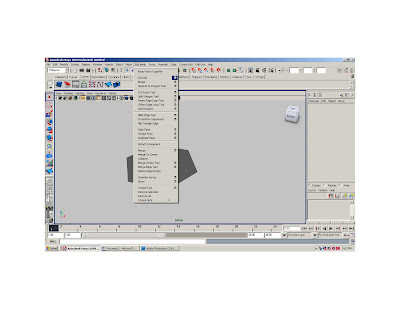
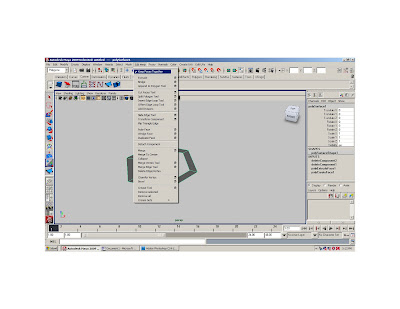
Go to edit mesh, and turn “keep faces together” off.
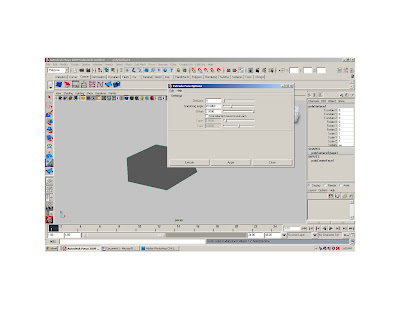
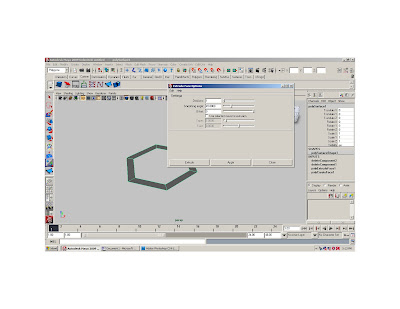
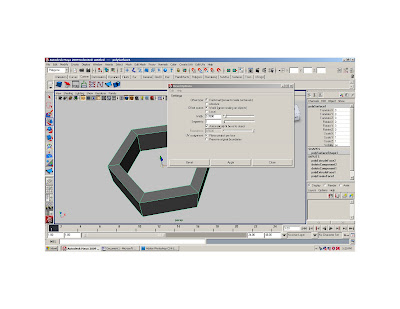
Extrude with and offset of 2,
in the channel editor, local scale x,y to .8
press delete
turn “keep faces together” back on
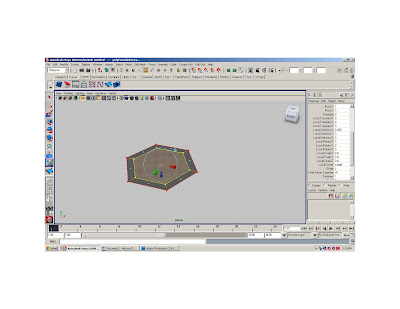
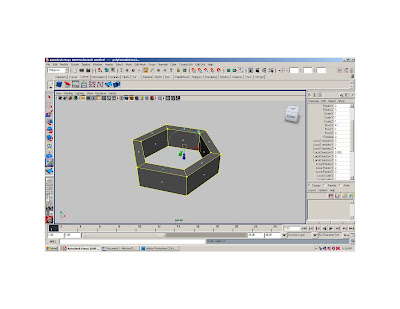
extrude with an offset of 0
in the channel editor, local translate z to 4
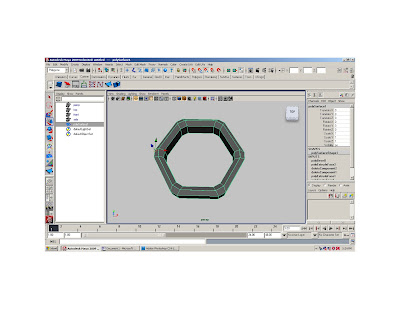
go to edit mesh> bevel
Bevel width = .05 and segments = 1
With snap to point on move the center pivot (d) to the left side of the object
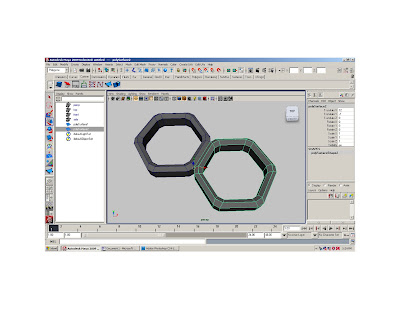
Duplicate the object and move it positively on the x axis, snapping it in place
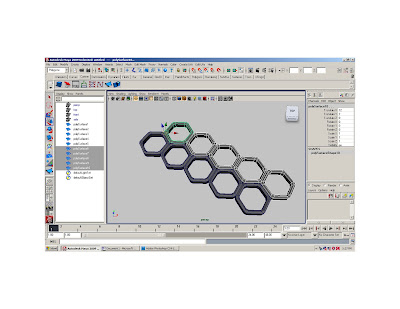
Shift d a few times
Select all objects and move the center pivot
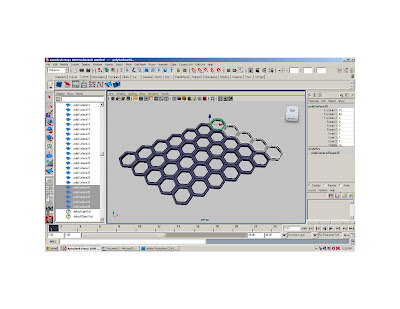
Duplicate the objects and move them positively on the x axis
Shift d a few times
Select all objects and go to mesh> combine
Go to edit> delete by type > history
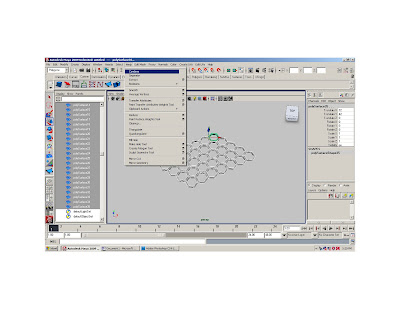
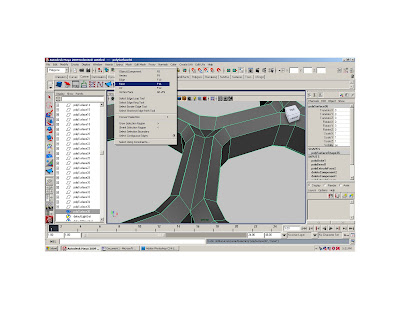
Go to Select > faces
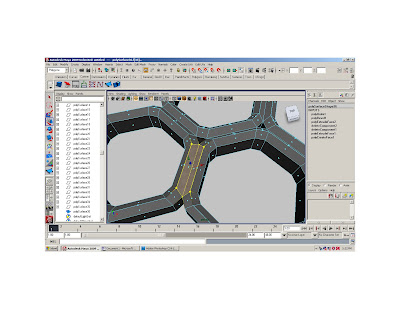
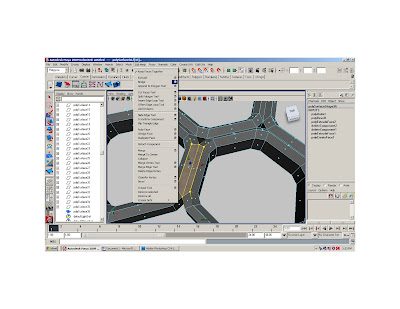
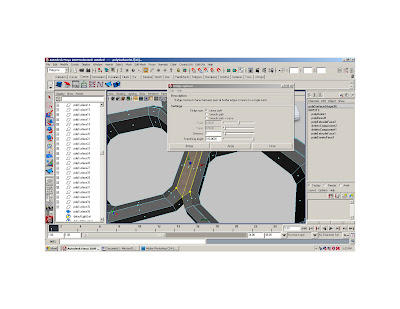
Select two faces and go to edit mesh> bridge
In bridge options select linear path, and divisions of 1, smoothing angle= 45
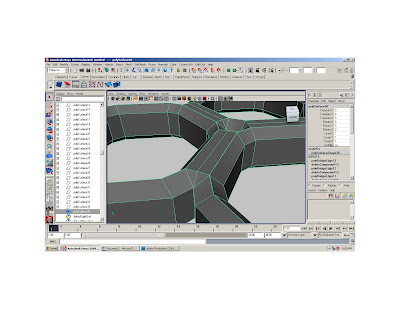
Repeat for all long sides
If the bridge faces get crossed, go to the inputs in the channel editor and select the bridge, change the bridge offset to 3
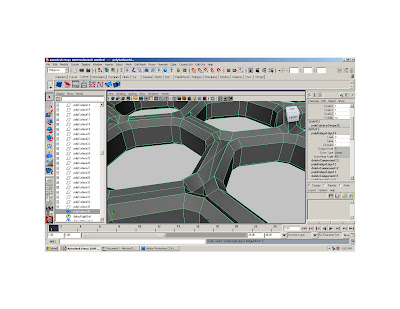
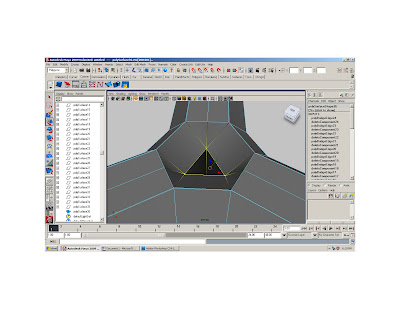
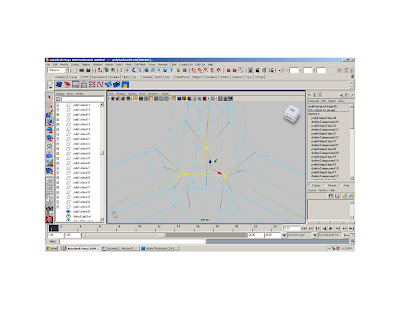
After all the long faces are bridged, select the three sets of vertices in-between the hexagons- make sure your just selecting the top vertices
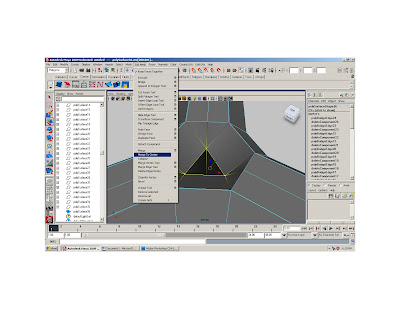
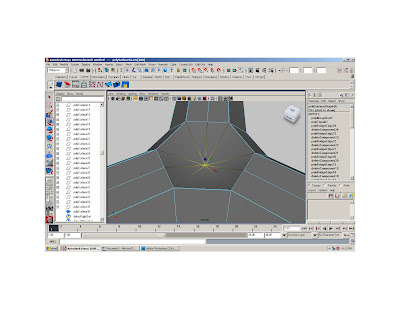
Go to edit mesh> merge to center
With the snap to point on, move the z axis up snapping the average,
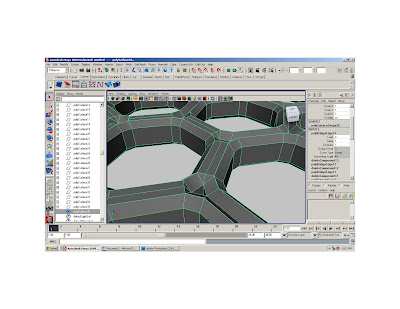
Repeat for entire piece
Now try :
In polygon menu, Mesh > Mirror Geometries
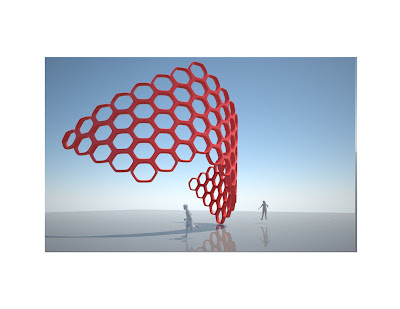
And in the animation menu> Create deformer> nonlinear deformer> bend
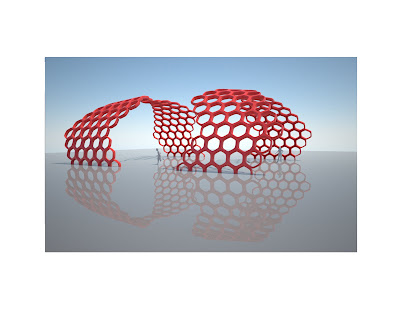
Render with Maxwell
No comments:
Post a Comment